How to install a Public Venue Auracast transmitter?
Adding Auracast to an existing sound system can be surprisingly simple.
In many installations, you don't need to replace the sound system at all. You simply take an audio output from the existing system and connect it to an Auracast transmitter.
Existing Sound System → Audio Output → Auracast Transmitter → Listeners
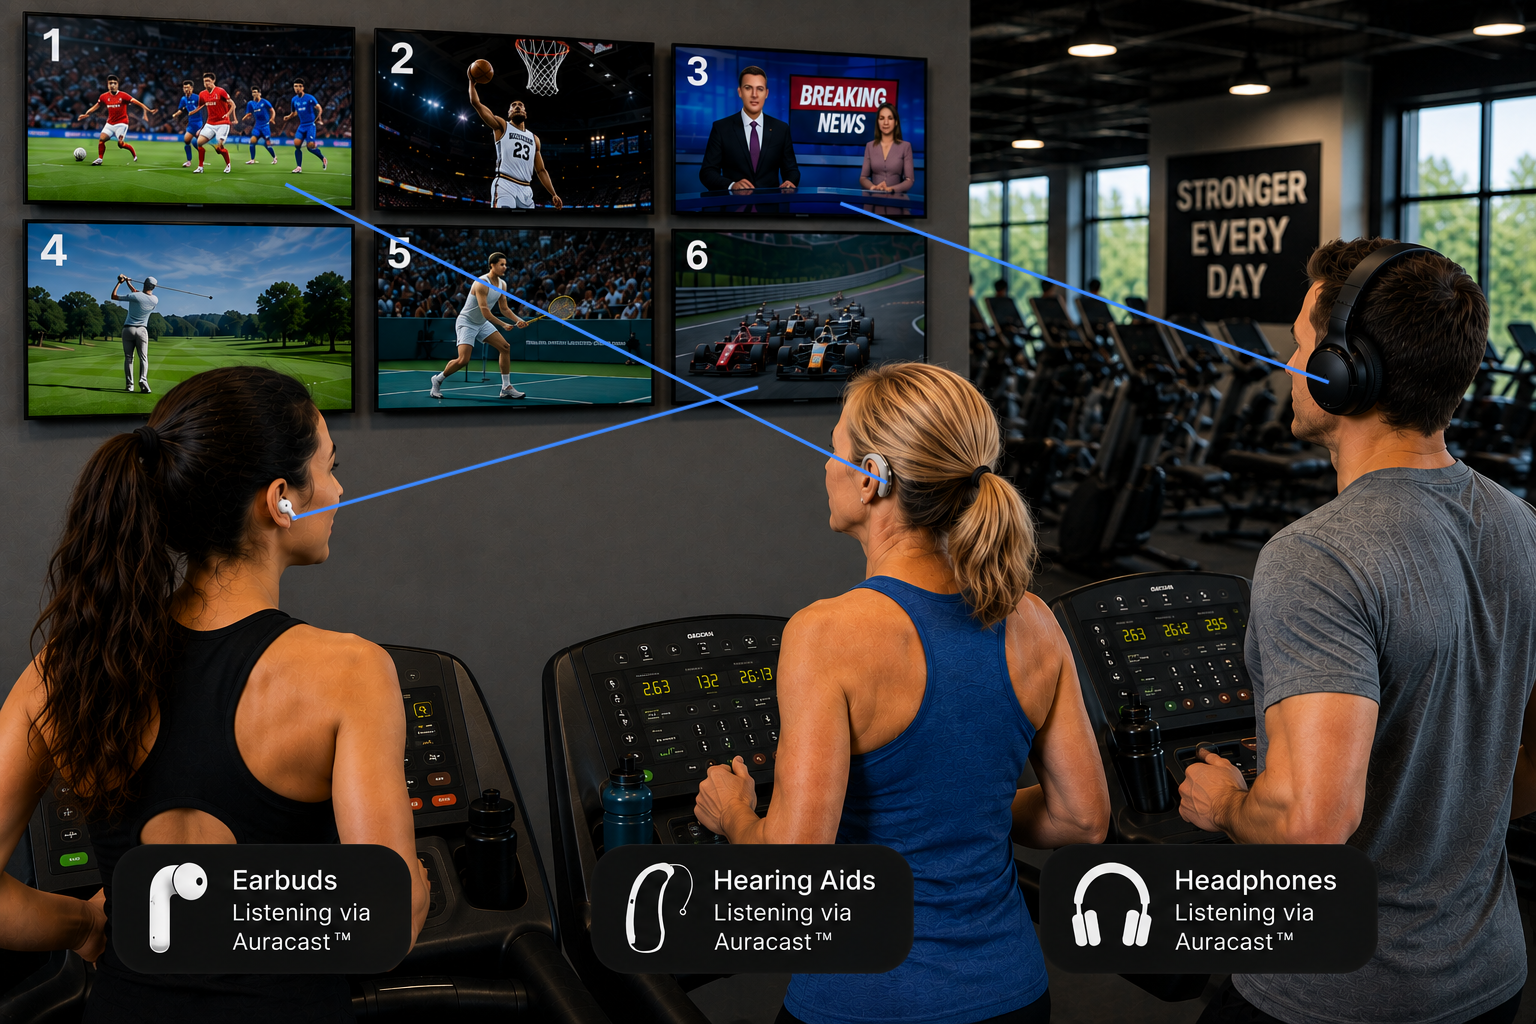
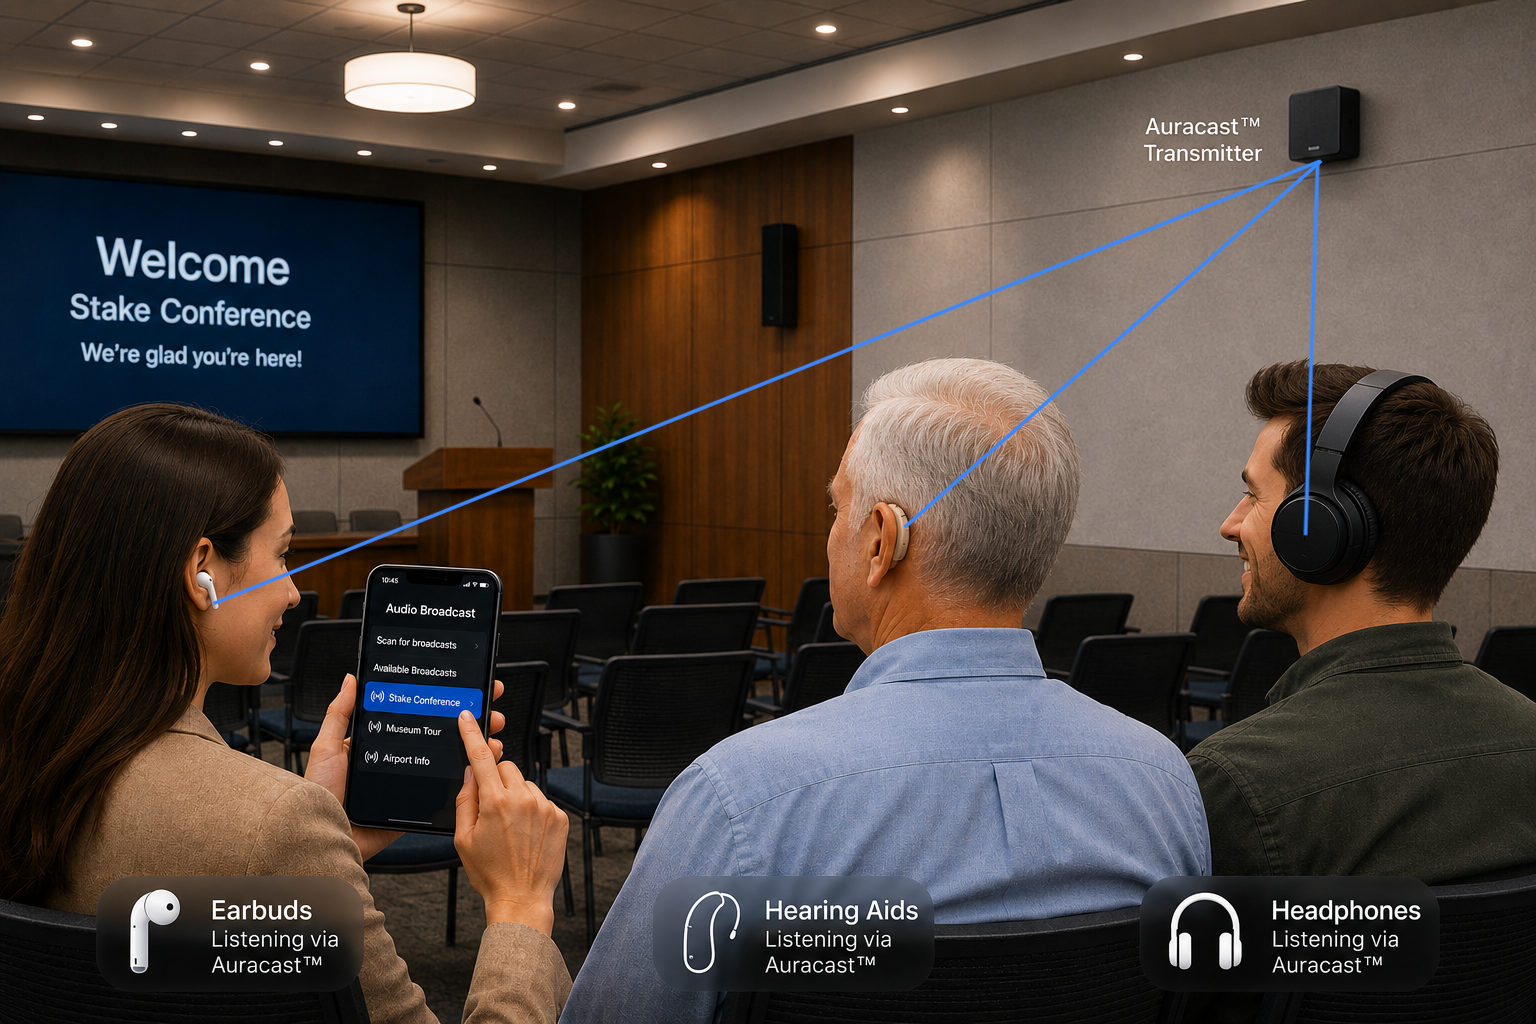
The transmitter then broadcasts that same audio directly to compatible hearing aids, earbuds, headphones, and Auracast receivers.
Where Can Public Auracast Be Used?
Auracast can be a great addition to places such as:
Churches and houses of worship
Meeting and conference rooms
Auditoriums
Theaters
Classrooms
Community centers
Gyms and fitness centers
Museums and public attractions
Anywhere people need to hear important audio more clearly is a potential use for Auracast.
Start With the Existing Sound System
The first question is:
Where can I get the audio?
Look for an audio output from the existing sound system. Depending on the equipment, it might be labeled:
Line Out
Aux Out
Mix Out
Audio Out
Monitor Out
Ideally, this output contains the complete audio mix you want people to hear.
For example, in a church you probably want the same microphone audio being heard through the room's speakers.
Line Level vs. Microphone Level
This is important.
Most Auracast transmitters are designed to receive a line-level audio signal.
A microphone by itself produces a much weaker mic-level signal and normally needs to pass through a microphone preamp or sound system first.
Whenever possible, use a proper line-level output from the existing sound system and connect it to the appropriate input on the Auracast transmitter.
Set the Audio Level
Getting a signal isn't enough. You also want a strong, clean signal without distortion.
If the input level is too low, listeners may have trouble getting enough volume.
If it is too high, the audio may distort.
Use the transmitter's input-level indicators or meters, when available, to adjust the signal while someone is speaking normally into the microphone.
Then listen to the actual Auracast broadcast and make sure speech sounds clear.
Give the Broadcast a Simple Name
Make the broadcast easy for visitors to recognize.
Good names might be:
Chapel
Auditorium
Conference Room
Theater 1
TV 3
Avoid technical names that won't mean anything to a visitor.
Someone opening their phone should immediately know which broadcast to select.
Public or Private?
Auracast broadcasts can be public or protected.
A public broadcast is ideal when you want anyone nearby to be able to find and listen to the audio.
A protected broadcast can be useful when the audio isn't intended for everyone. Listeners need the appropriate passcode to access it.
For many accessibility installations in public meeting spaces, making the broadcast easy to discover is part of what makes Auracast so useful.
Always 24 kHz Broadcast!
Most transmitters let you specify the broadcast mode: 16, 24, or 48 kHz. Always choose 24 kHz for public venues!
For a public Auracast installation, providing a 24 kHz broadcast is critically important for accessibility. Some Auracast hearing aids require 24 kHz, so offering only a 48 kHz broadcast can exclude hearing aid users—the very people public assistive listening is intended to serve.
In theaters, concert halls, or other venues where music and higher audio quality are important, consider providing both a 24 kHz compatible channel and a 48 kHz high-quality channel. Make the choice obvious by including “24 kHz / Compatible” and “48 kHz / High Quality” in the broadcast names so listeners can quickly select the appropriate broadcast for their device.
Where Should the Transmitter Go?
Placement matters.
Install the transmitter where its signal can reach the areas where people will be listening.
Whenever possible:
Mount it above furniture and other obstructions.
Avoid enclosing the transmitter or antenna inside metal cabinets.
Keep the antenna away from large metal objects.
Follow the manufacturer's antenna-position recommendations.
Test the actual listening area before making the installation permanent.
A transmitter doesn't necessarily need to be in the center of the room, but good placement can significantly improve coverage.
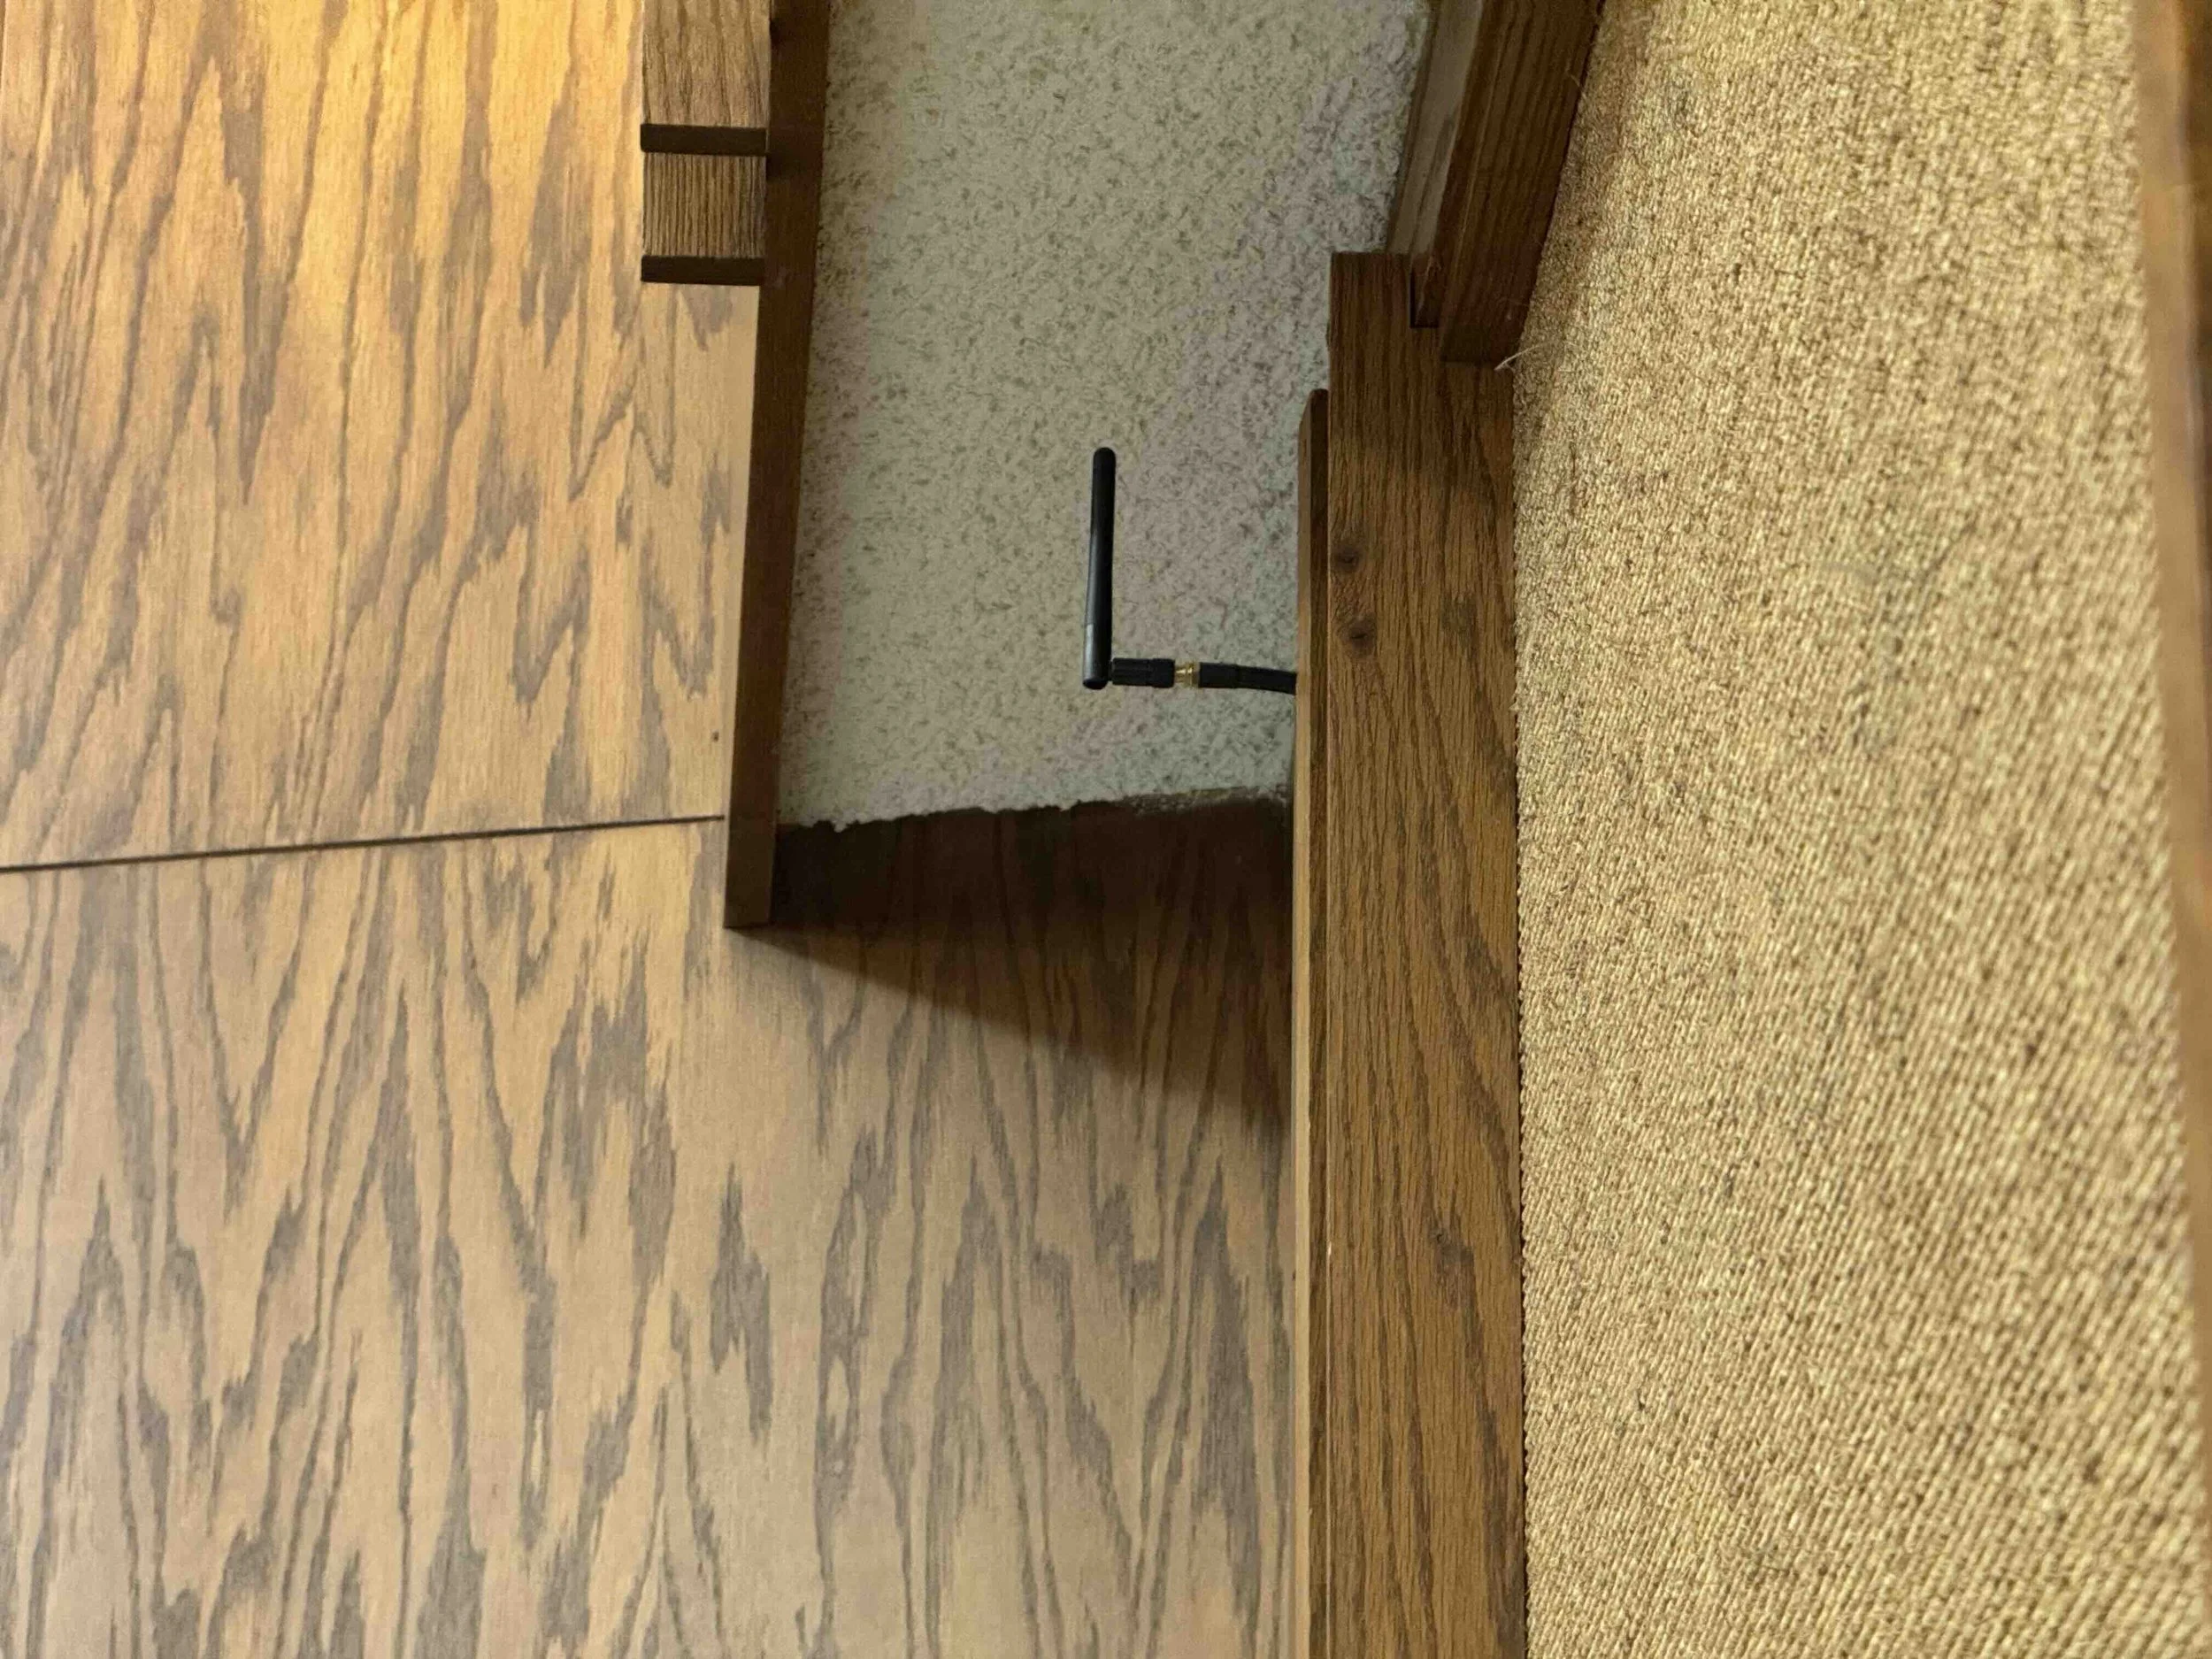
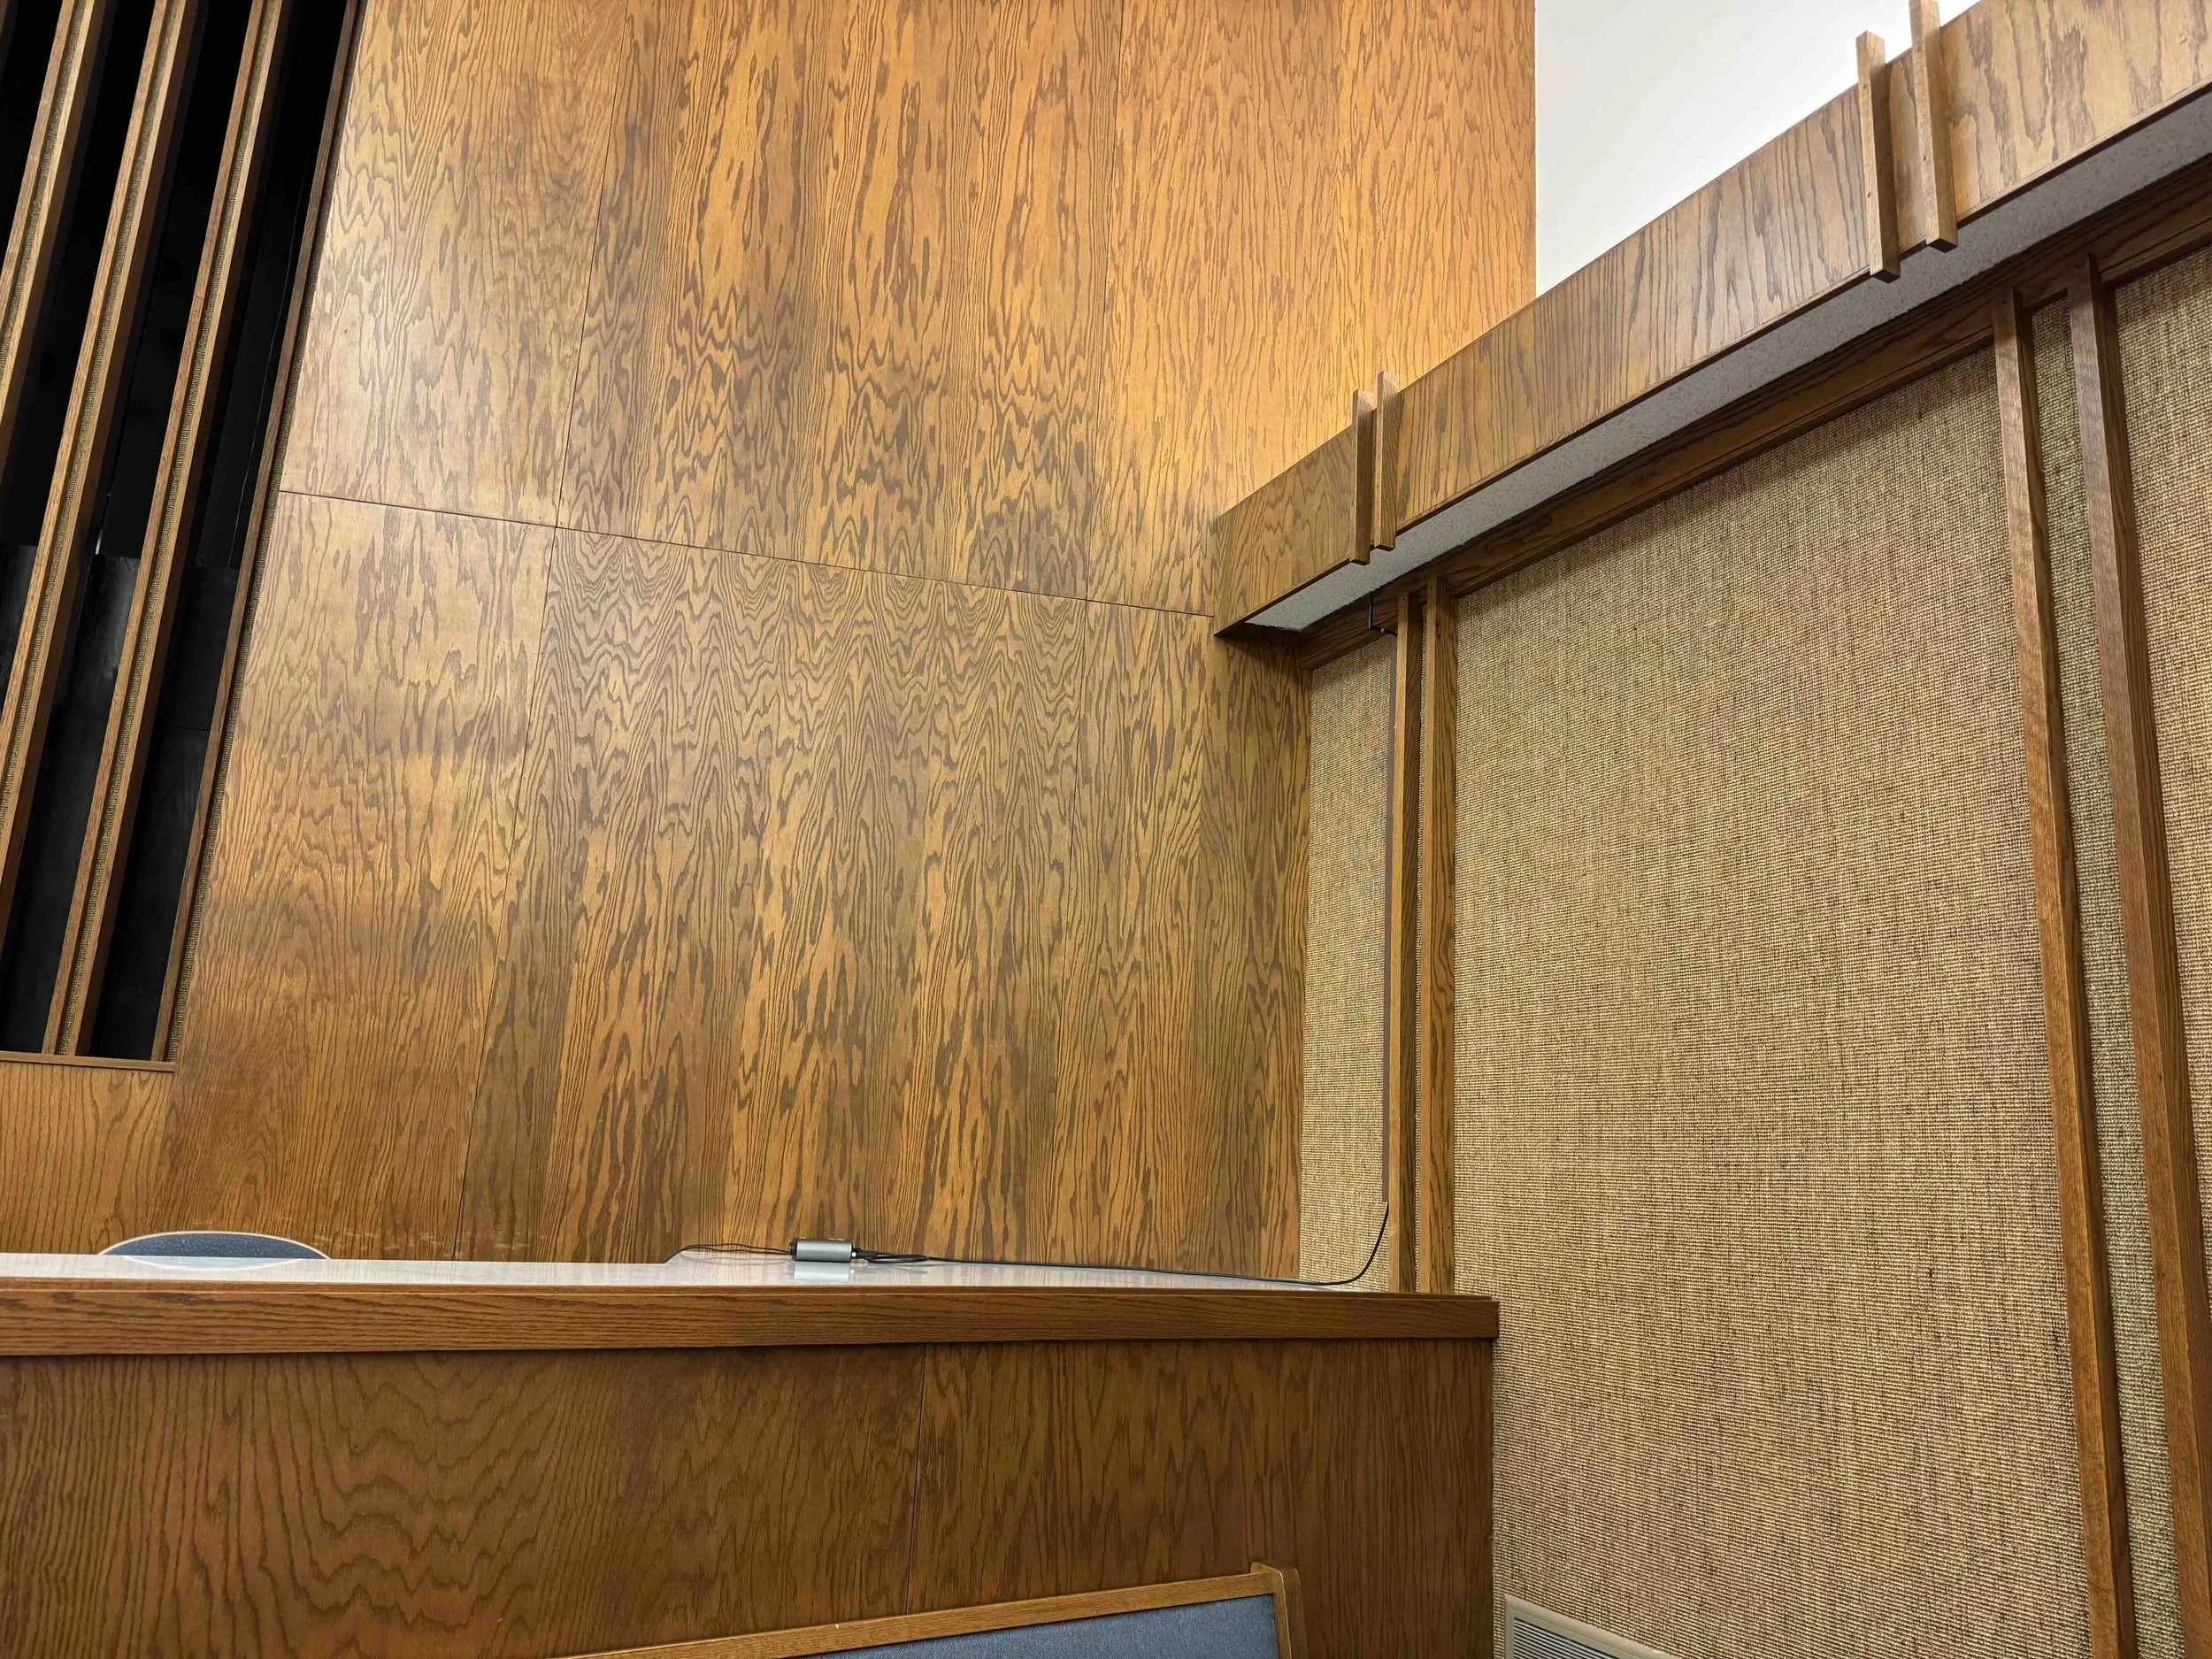
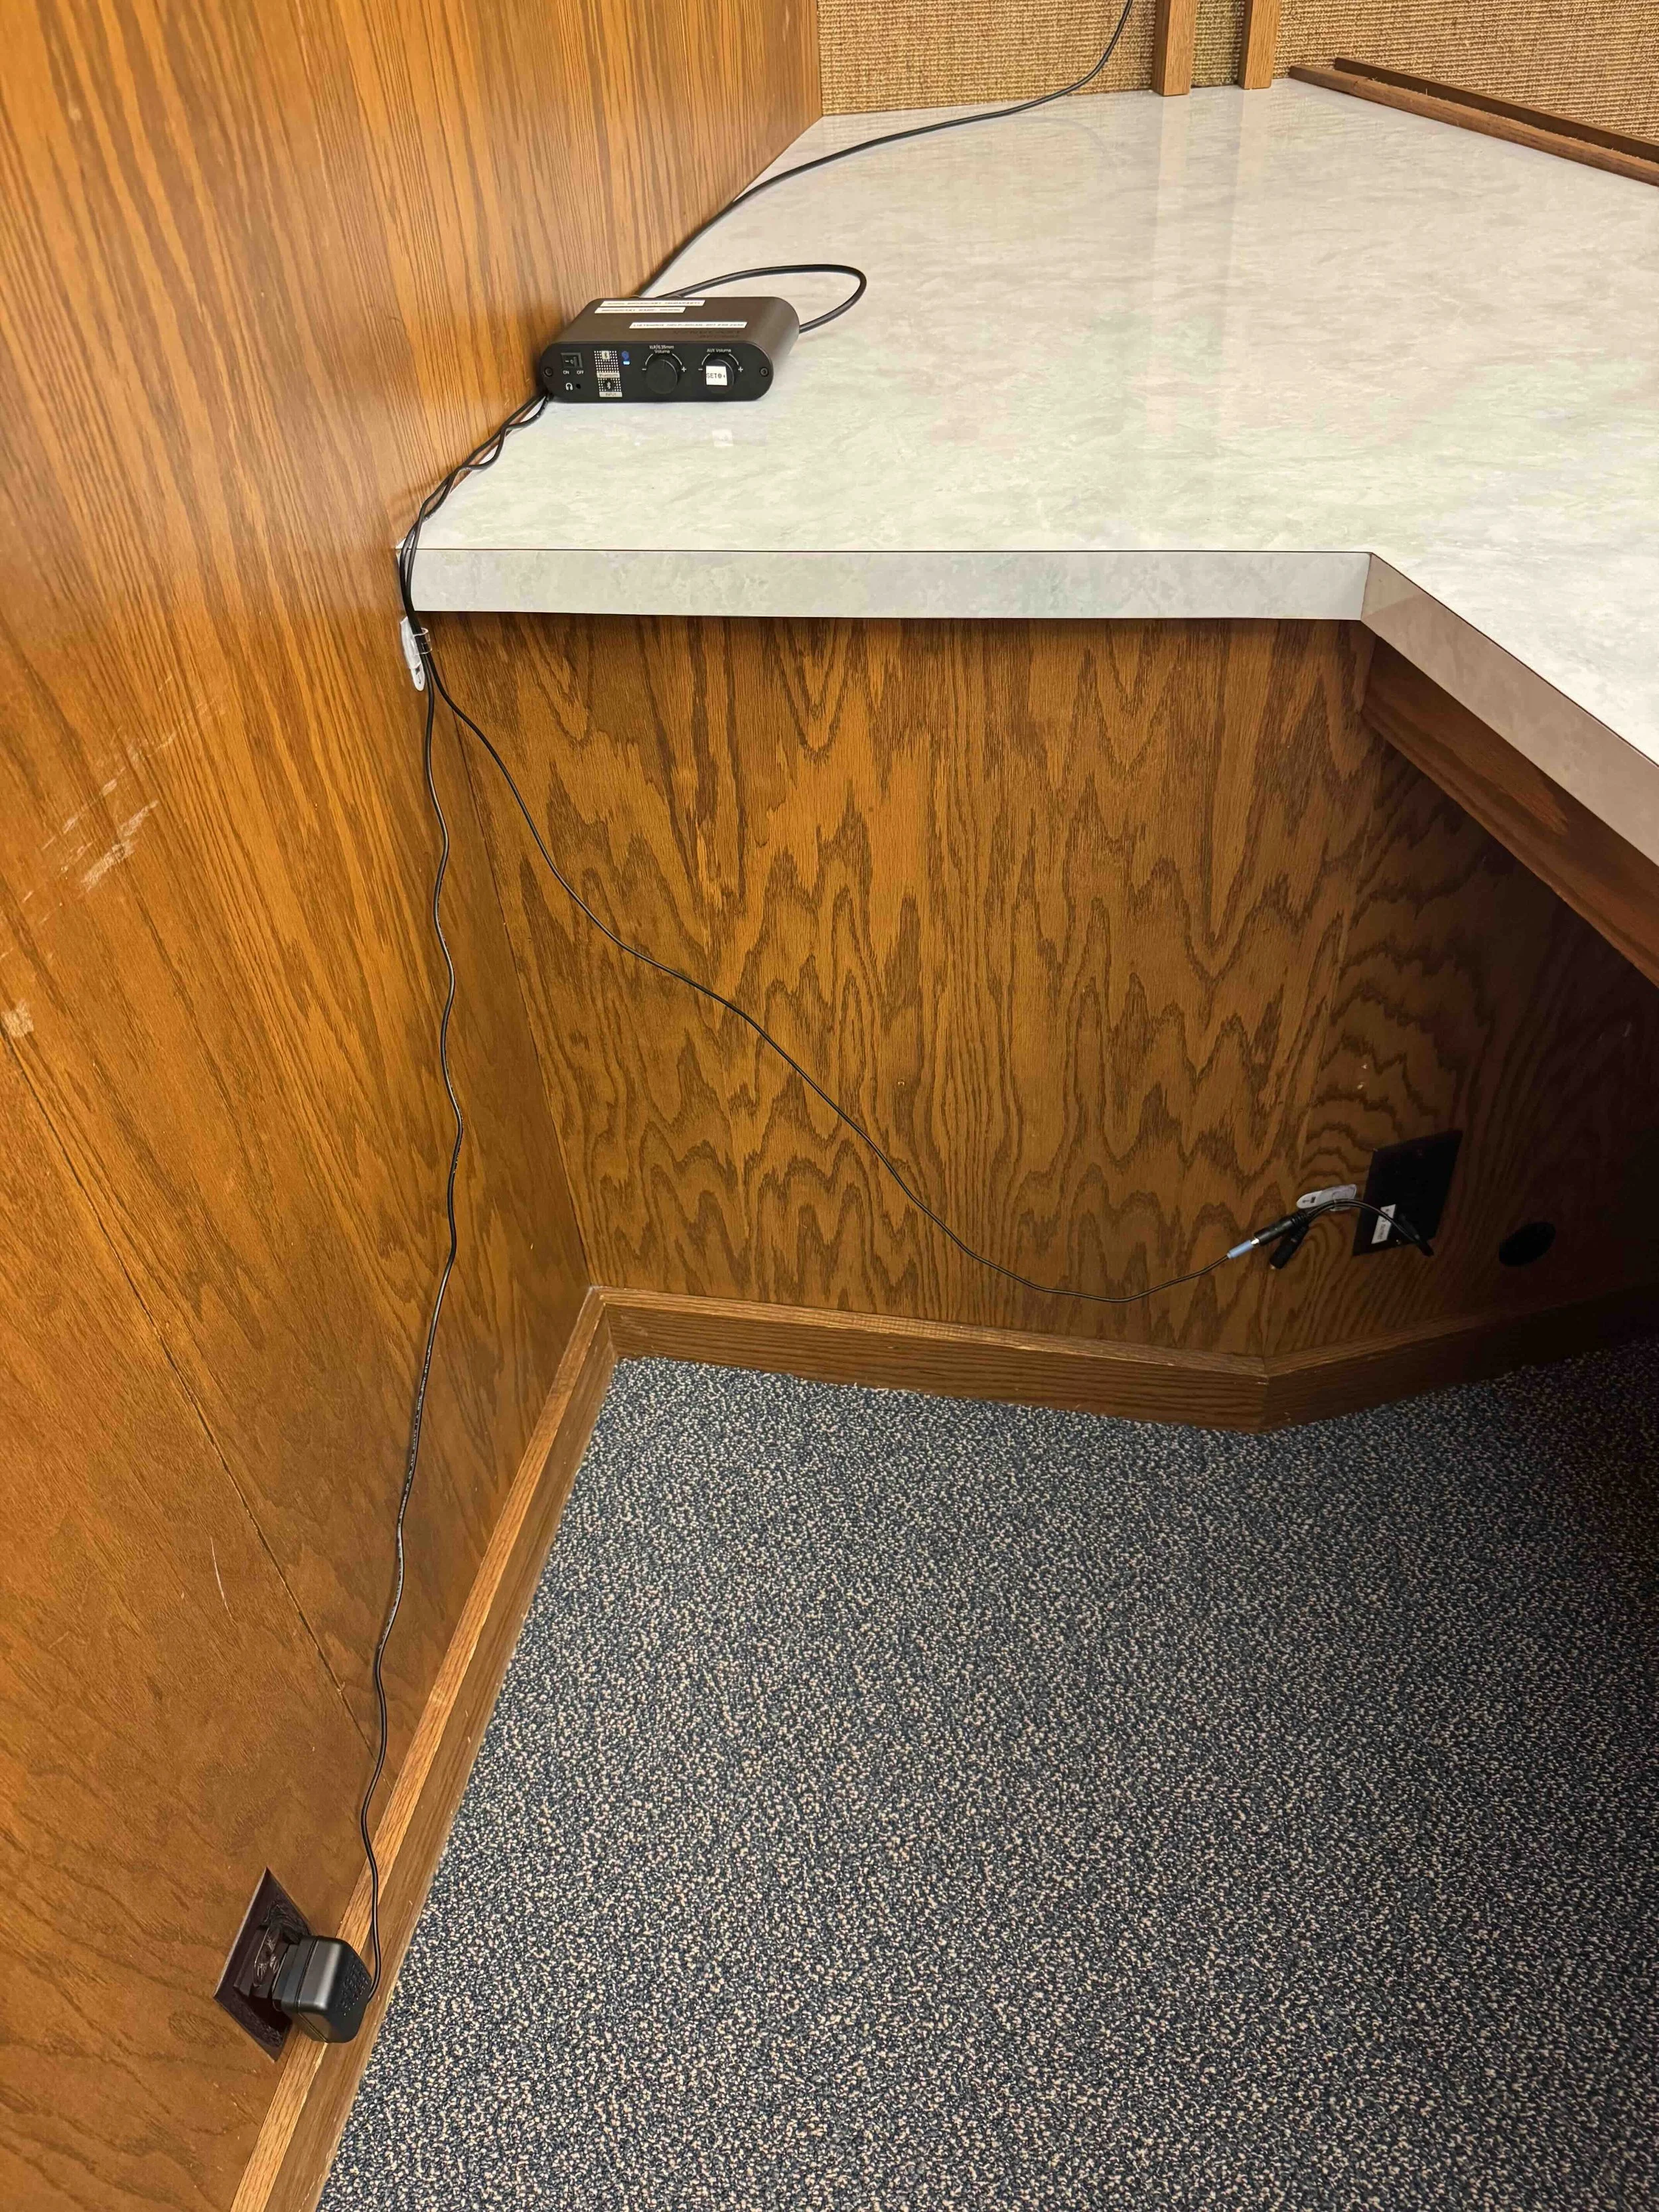
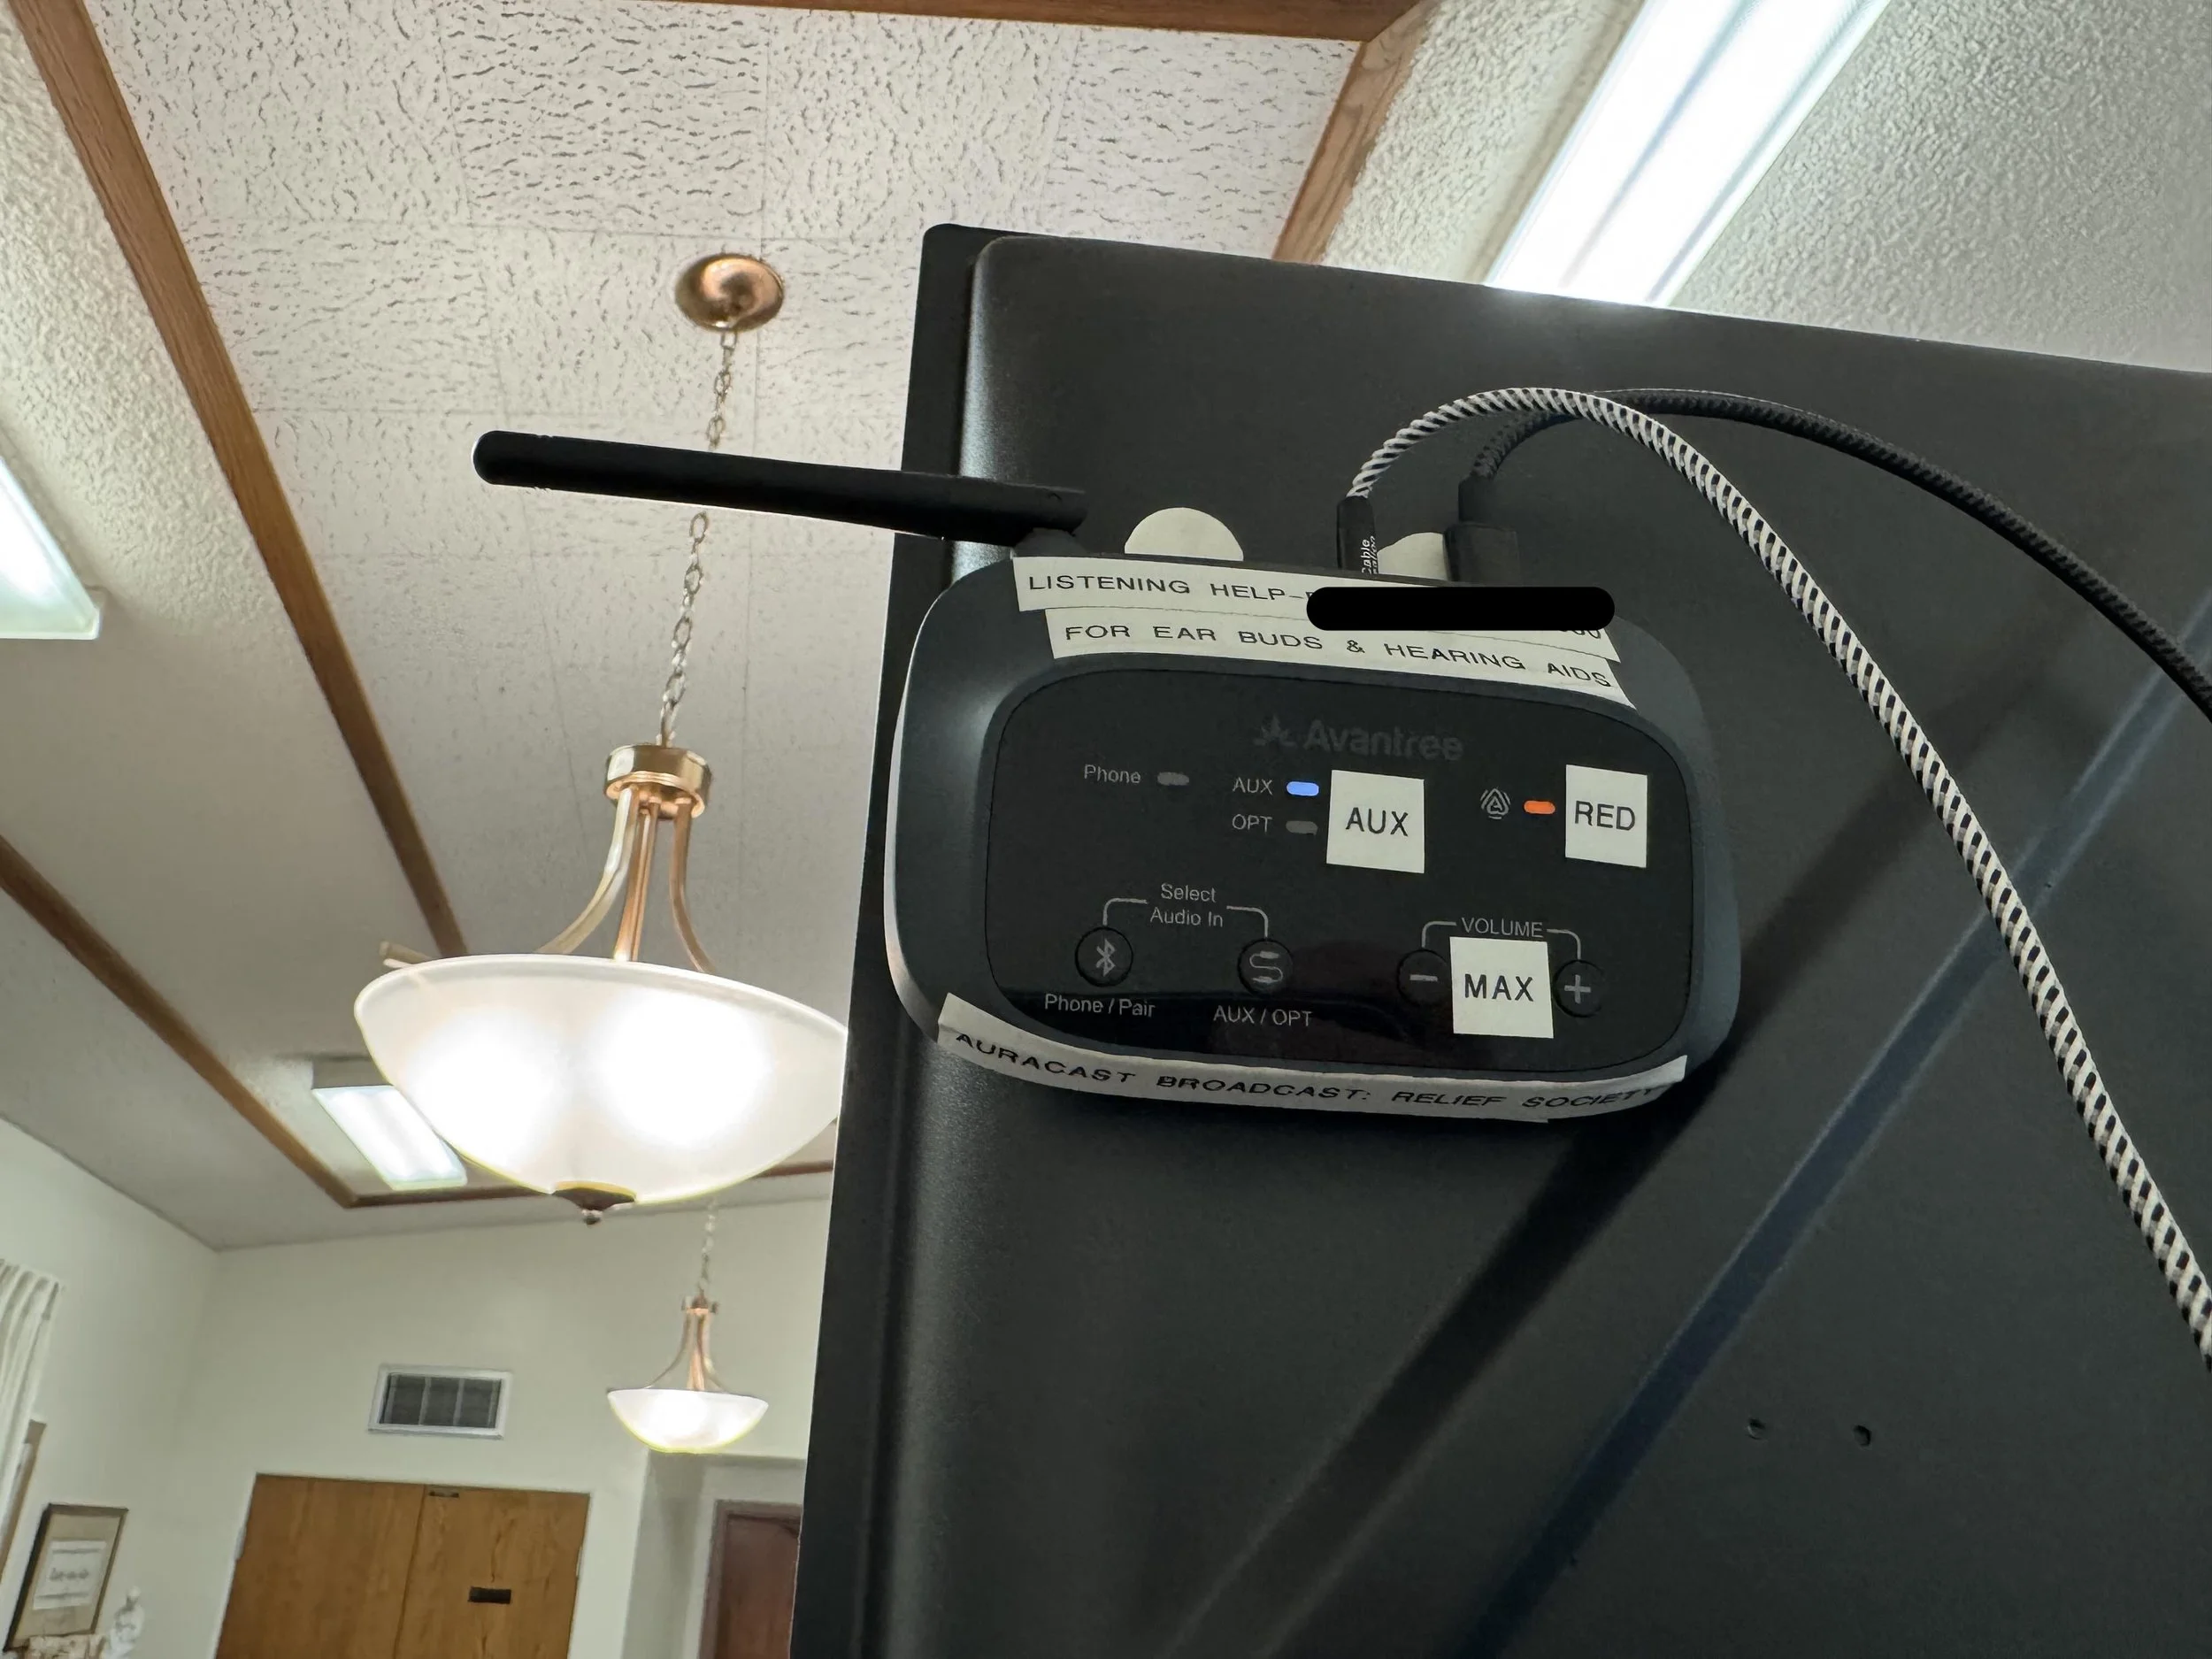
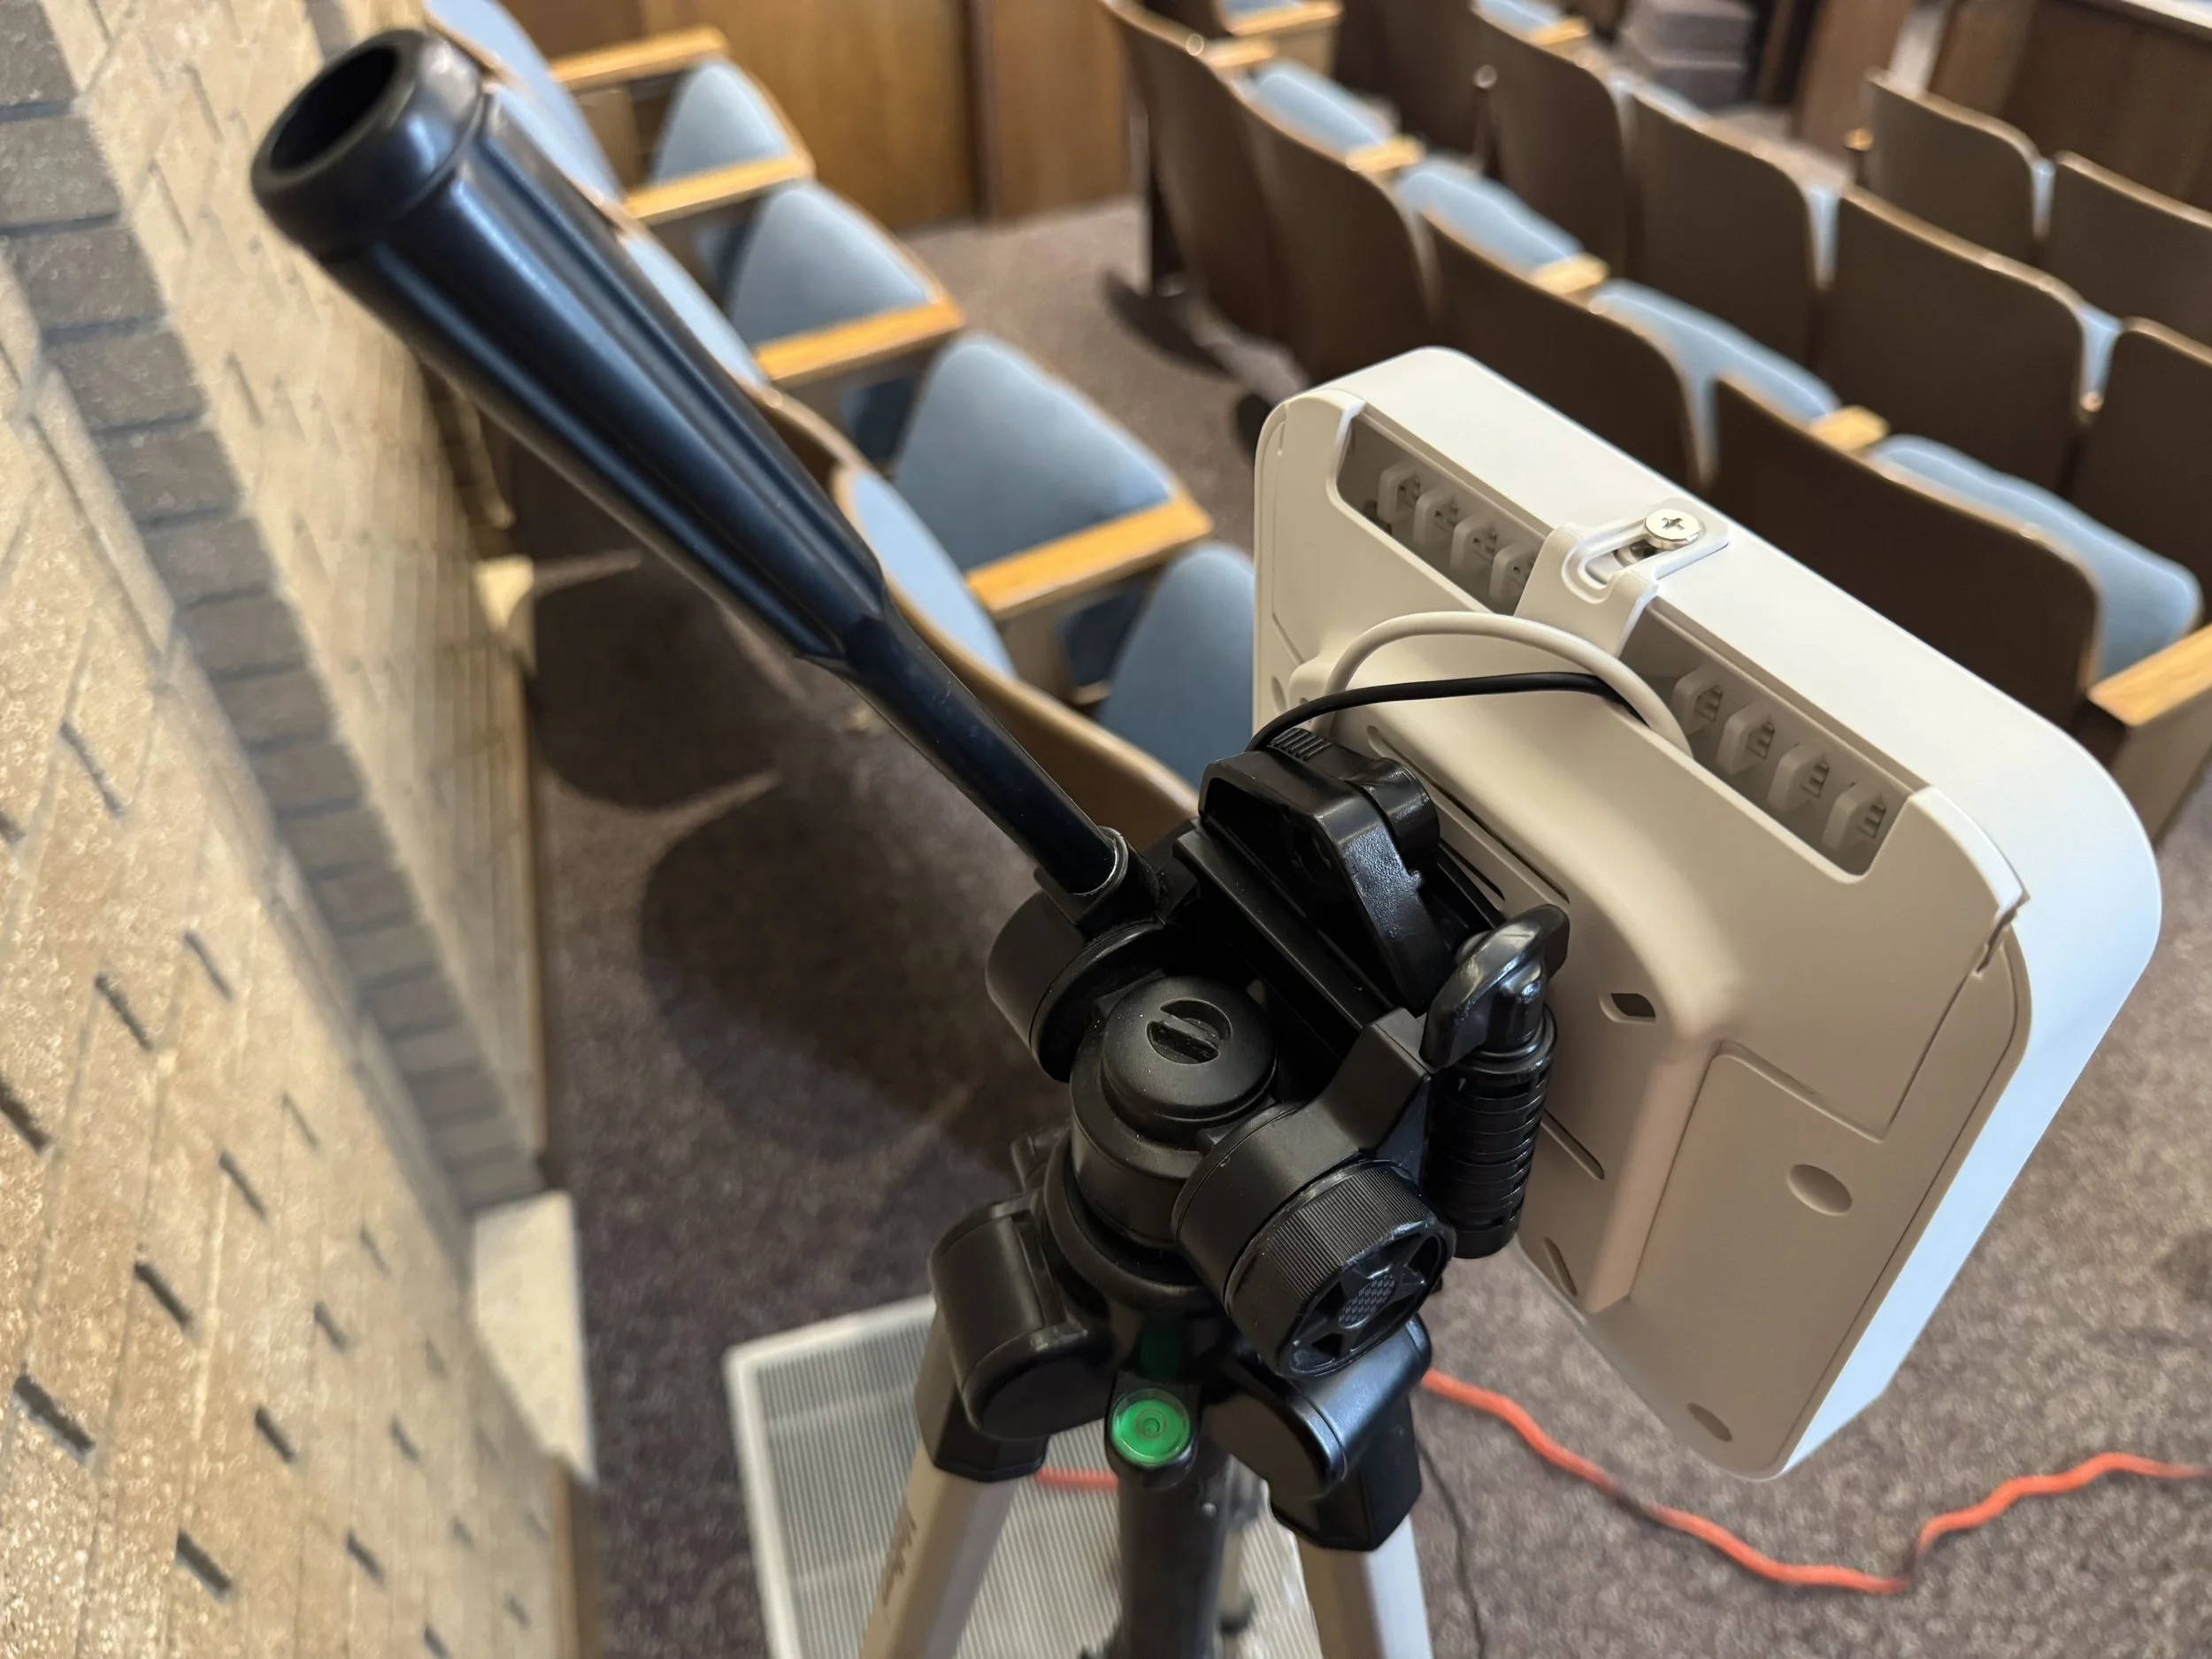
With one of my first installations, I had the transmitter on a desk on the podium. I was standing 175 feet away testing the sound from a distance when someone walked through my line of sight to the transmitter and I heard an interruption in the audio. The transmission travels from the transmitter antenna directly to your Auracast receiver, so having the antenna higher is usually better.
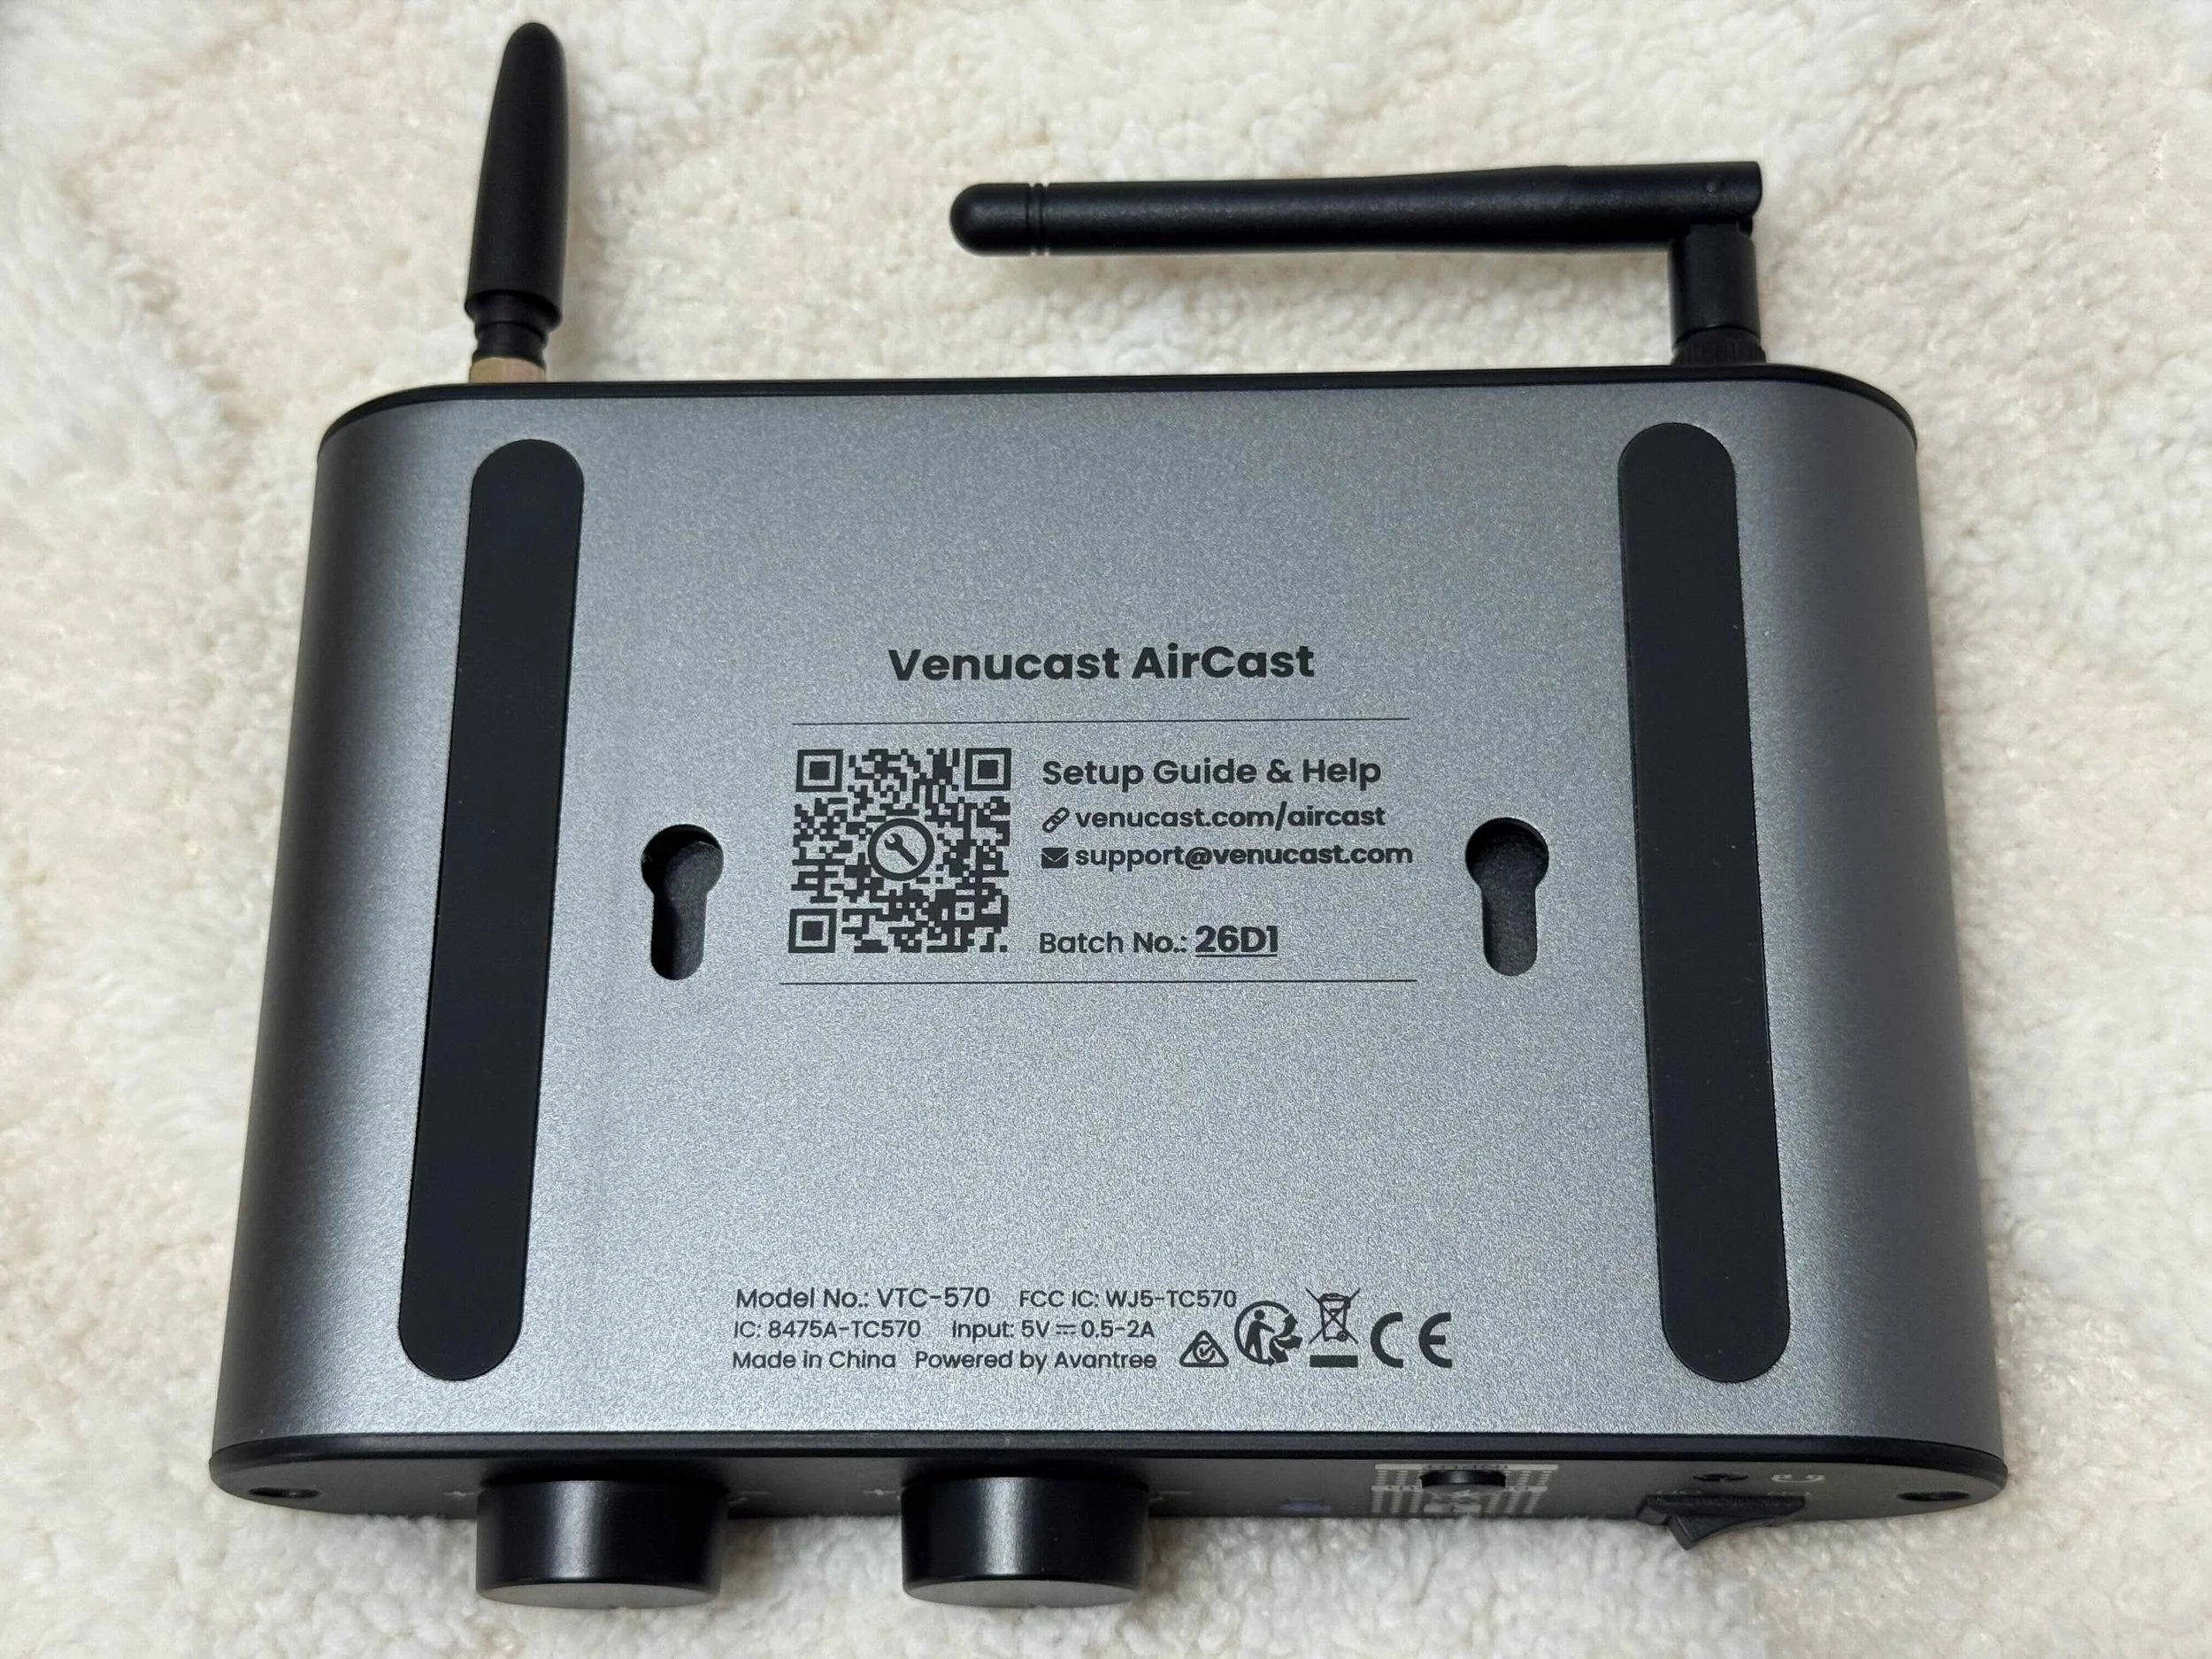
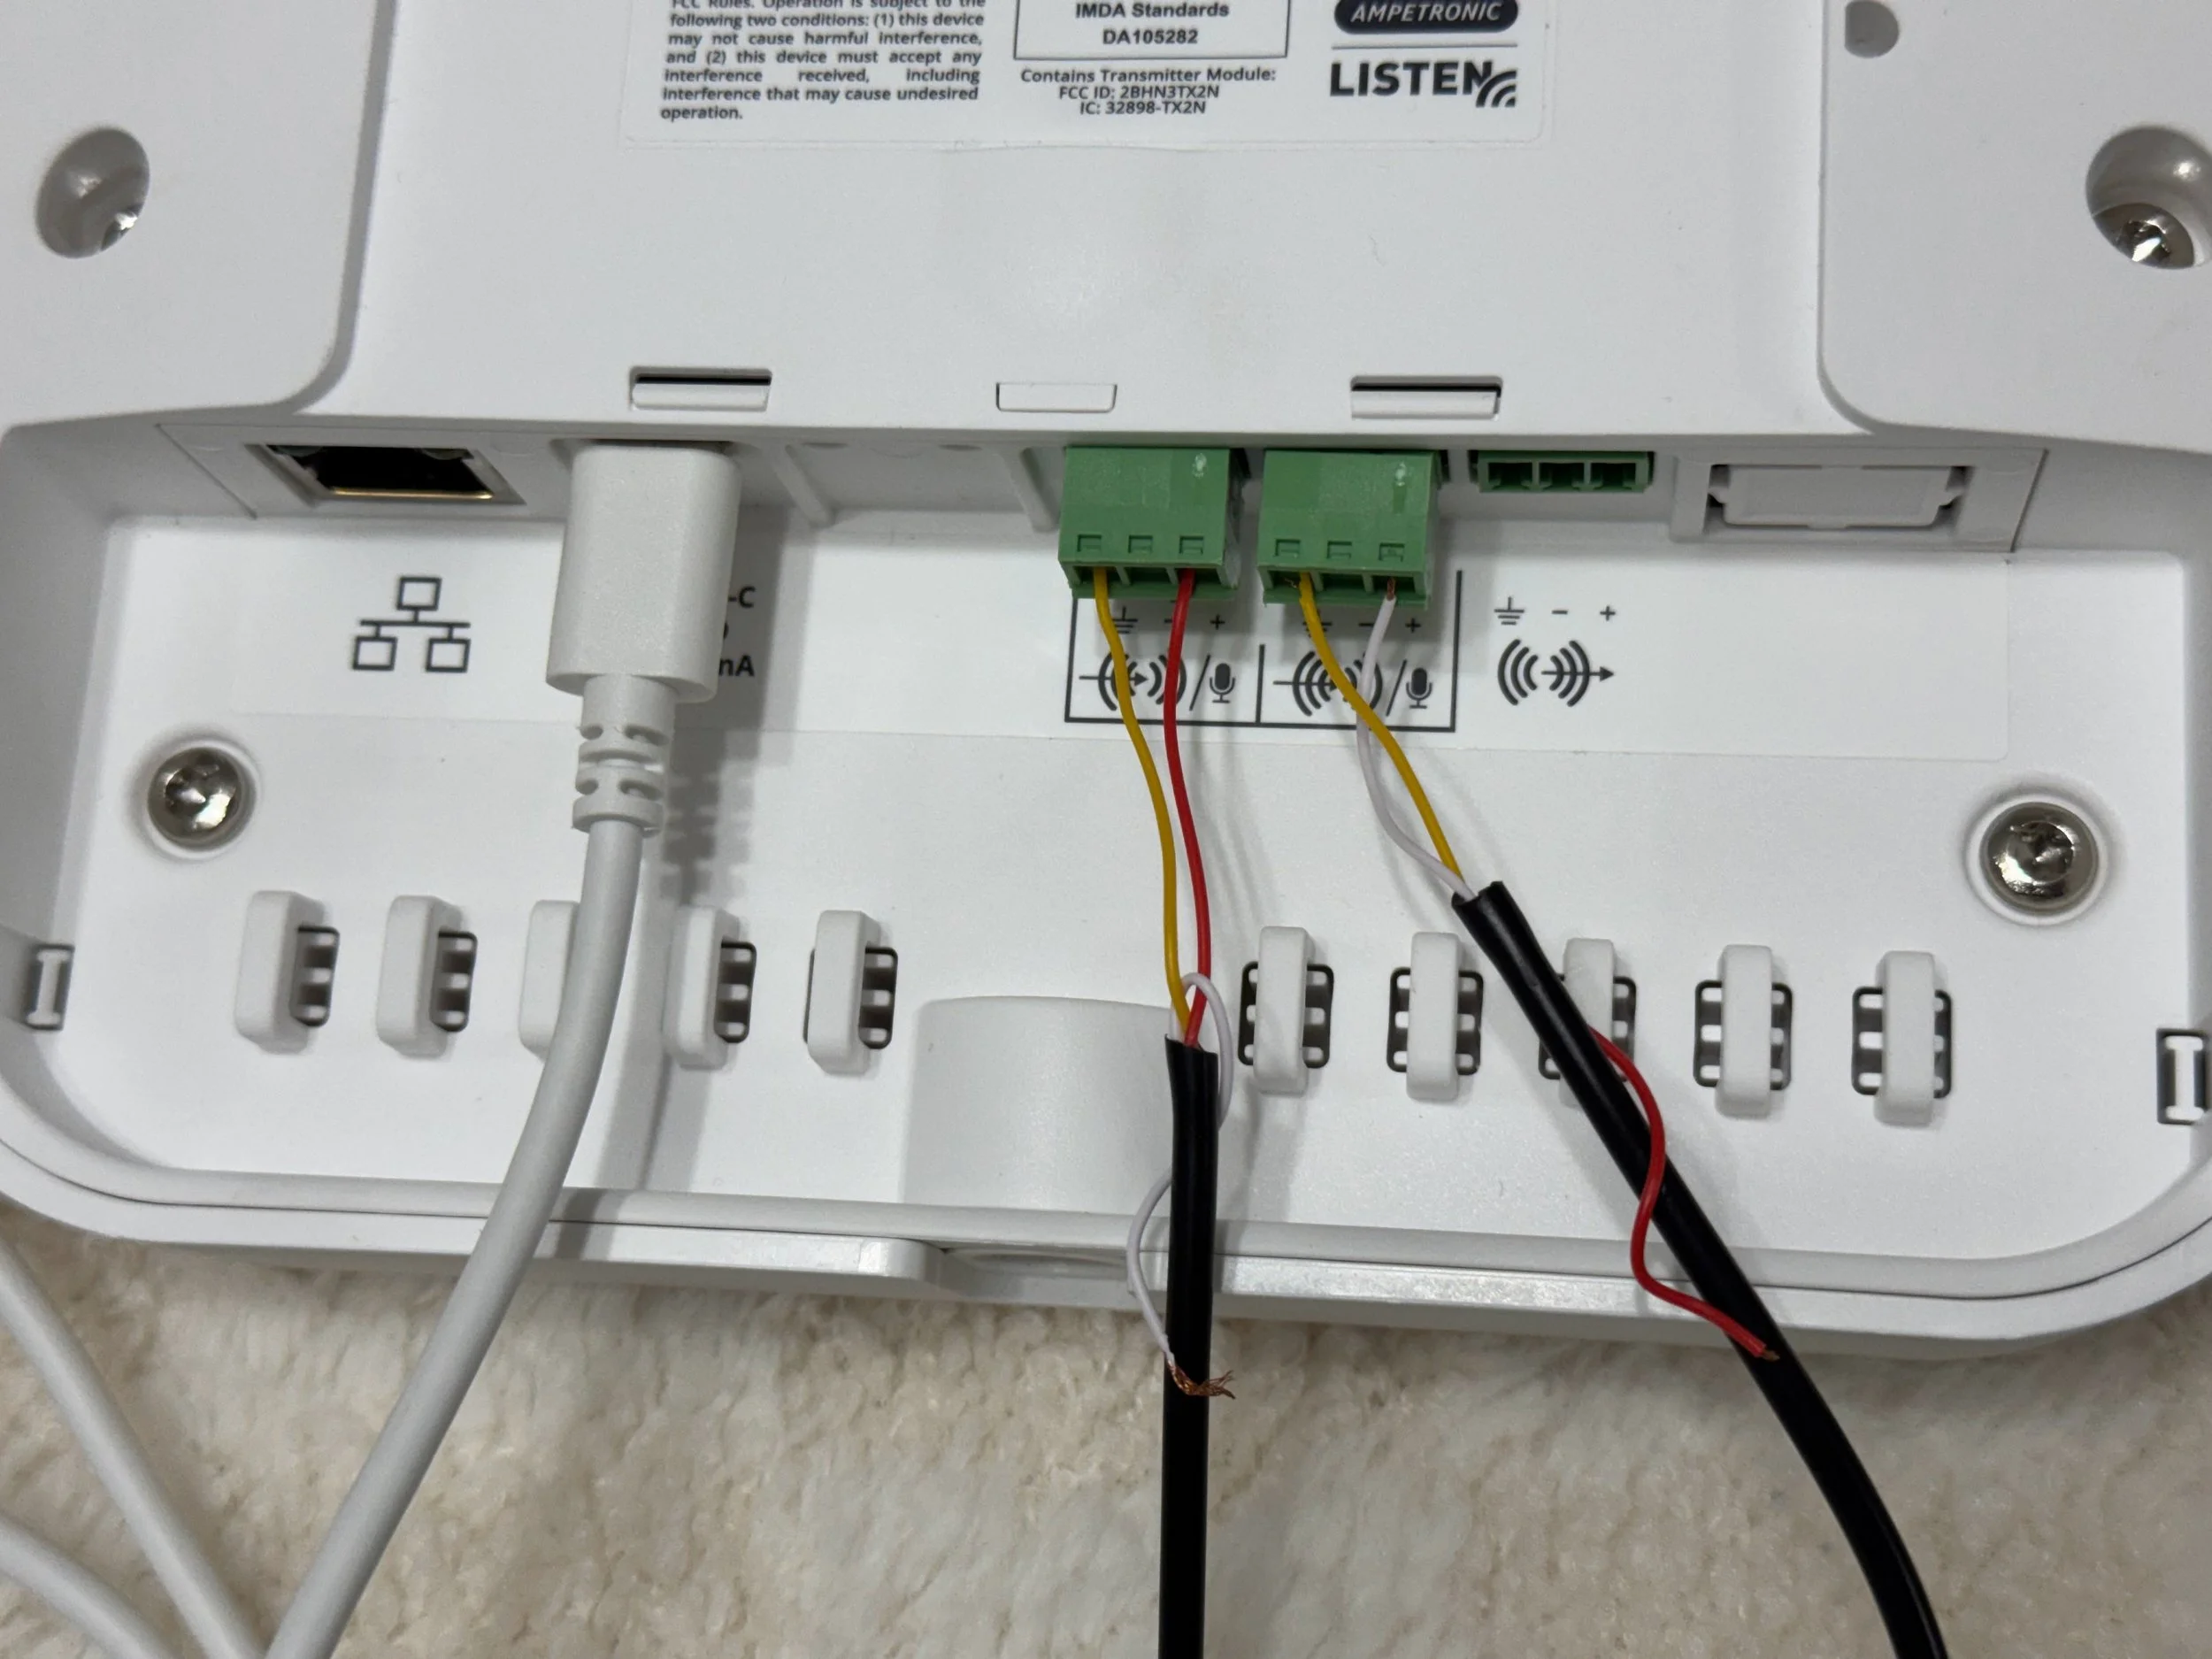
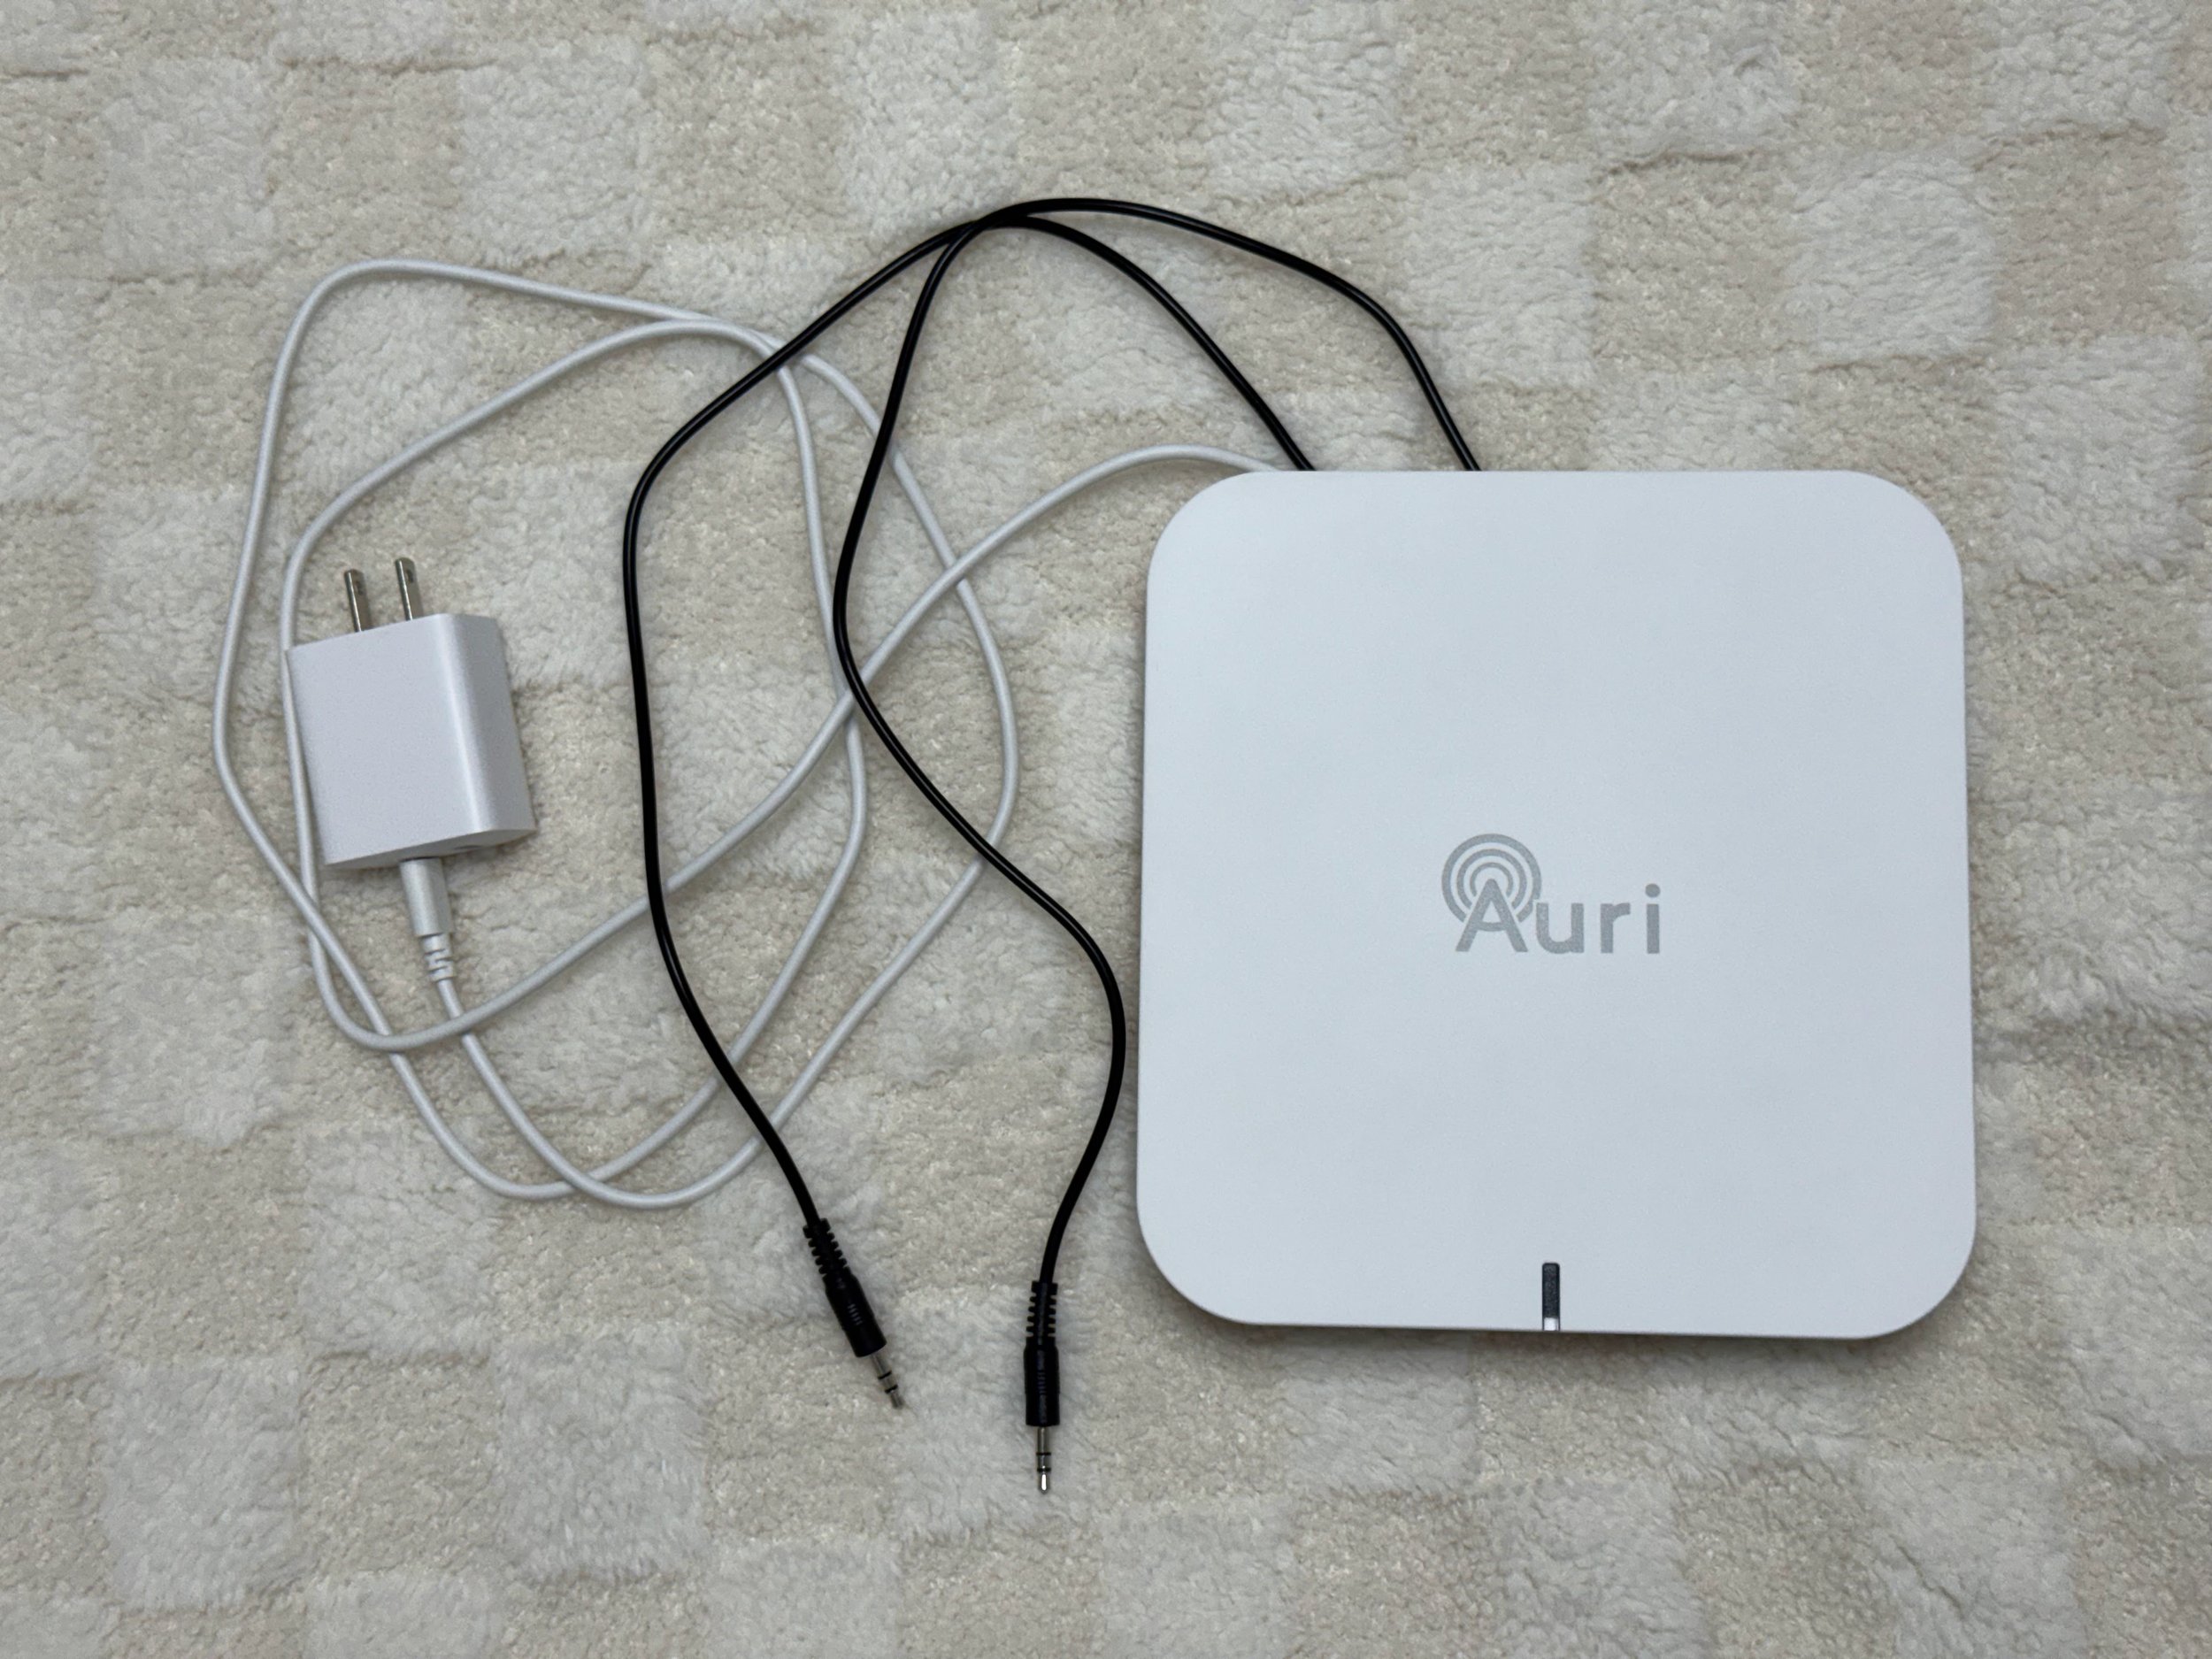
Higher end transmitters have mounting brackets or slots to hang on a wall or ceiling. Others have removable antennas that can be extended with specific antenna cabling. Some are small enough to stick up with some Command Strips. My behind the TV installations were handy, then all of the TV and microphone audio was centrally available for the transmitter aux in jack.
Professional installations will typically drill holes in walls and ceilings to completely hide the wiring. Power over ethernet (PoE) is also used to power transmitters.
Test More Than the Front Row
Don't test Auracast while standing next to the transmitter and call the installation finished!
Walk around the entire area where people may listen.
Test:
Front of the room
Middle of the room
Back of the room
Corners
Hallways or overflow areas that should have coverage
Areas separated by walls or movable partitions
Most importantly, listen to the audio.
Numbers and signal measurements can be helpful, but the goal is for real people to hear clear, reliable sound where they actually sit.
Don't Forget the Microphone
An Auracast system can only broadcast the audio it receives.
If someone is teaching or speaking without using the room's microphone, their voice won't magically appear in the Auracast broadcast.
This is especially important for people with hearing loss.
Even someone who speaks loudly may be difficult to understand because volume and speech clarity are not the same thing.
For an accessible meeting:
Use the microphone every time.
Make It Easy for Visitors
Installing the transmitter is only half the job.
People also need to know the broadcast exists and how to use it.
Consider posting a small sign with:
Auracast Available
Then include the broadcast name, simple connection instructions, and a QR code when appropriate.
Also consider keeping a few Auracast receivers and wired earbuds or headphones available for people who don't yet own compatible devices.
Keep It Simple
A public Auracast installation doesn't have to be complicated.
For many rooms, the basic system is simply:
Microphones → Existing Sound System → Audio Output → Auracast Transmitter
Once installed, the transmitter can remain available without pairing individual listeners or handing out specialized receivers to everyone.
People arrive, find the broadcast, and listen using the device that's right for them.
That's what makes Auracast such an exciting accessibility technology.
Our Venucast Oasis Aura Transmitter Review
Venucast Oasis Aura Transmitter Product Page
Buy Venucast Oasis Aura Transmitter on Amazon
Our Venucast AirCast Transmitter Review
Venucast AirCast Transmitter Product Page